Menu
< Main Menu
Social Media


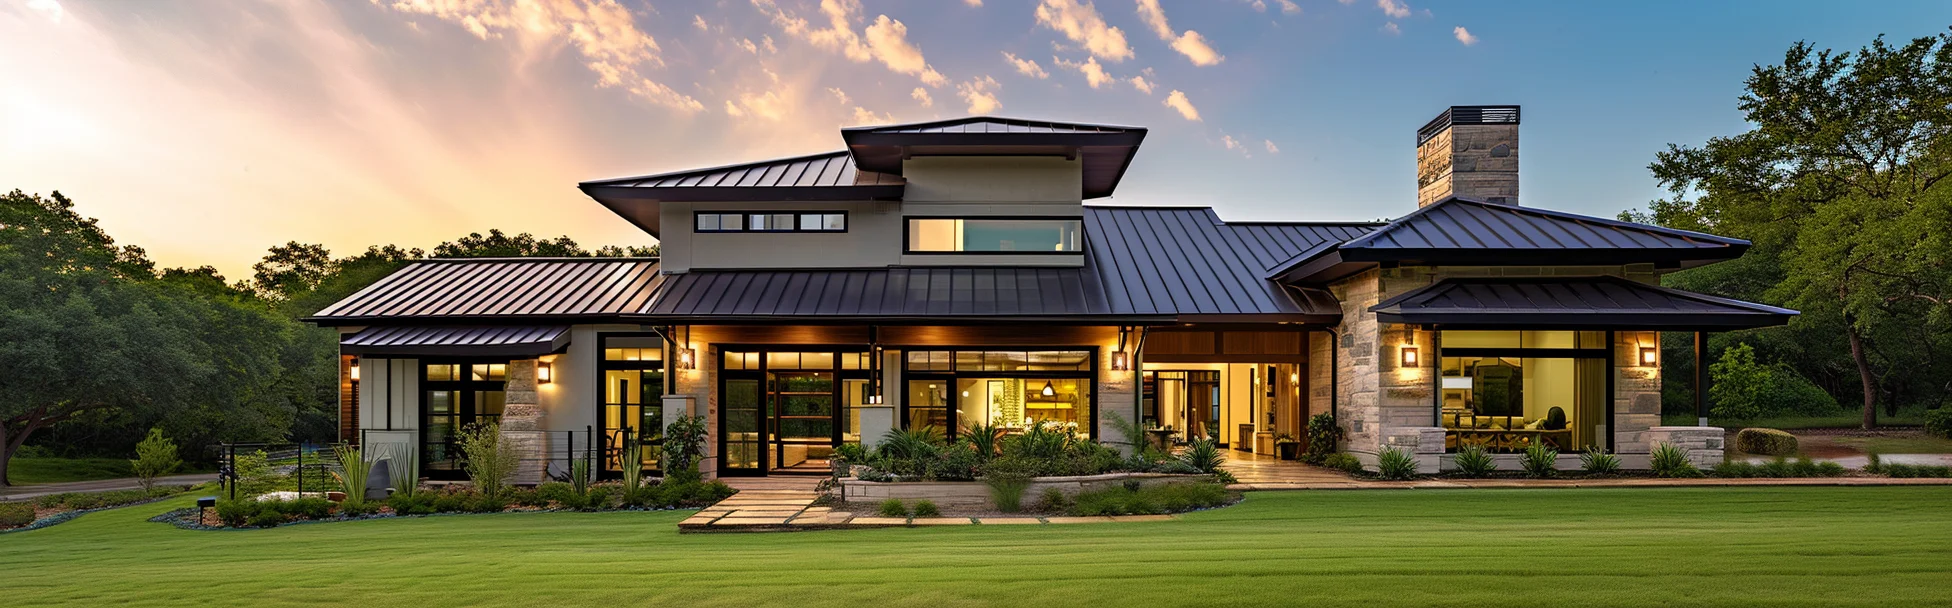
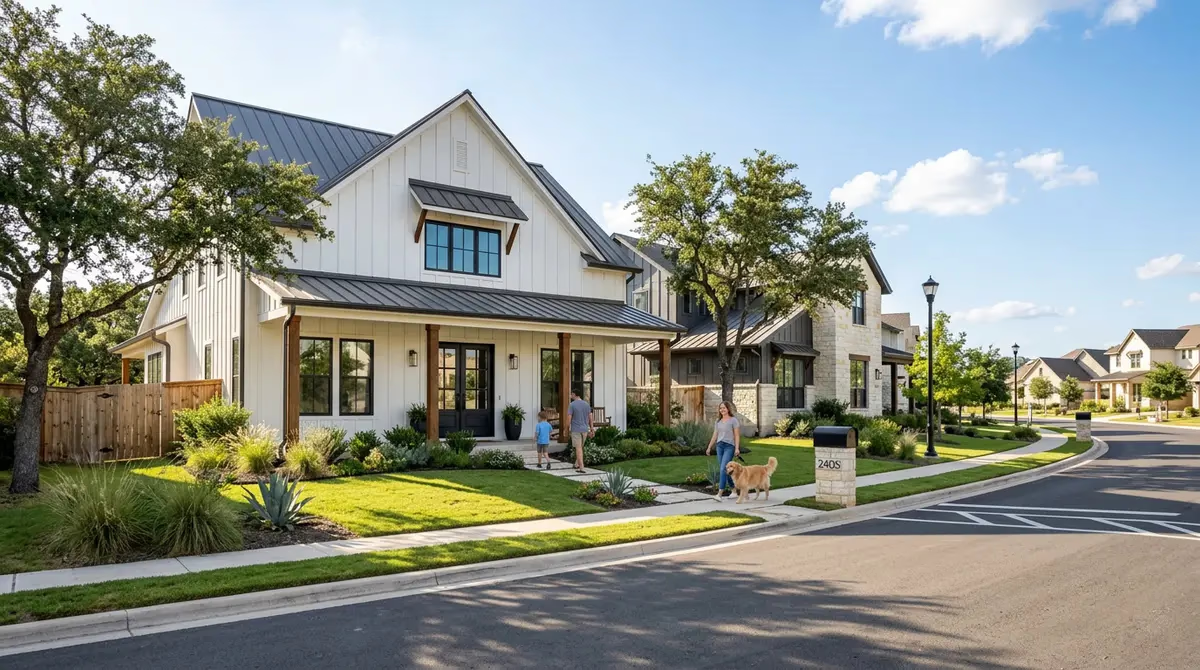
Most Austin homeowners think about their roof twice a year: when hail season kicks off in spring, and when the first heavy rain leaks inside. But it's the late-summer rain events — the ones that roll in from the Gulf with 40-mph sideways winds — that expose the real weak spots. And increasingly, those weak spots are sitting right at the edge of your roof, not in the field of shingles where most people look.
Austin sits in a corridor where Gulf moisture regularly collides with dry continental air. The result is intense, wind-driven rain that doesn't fall straight down — it drives horizontally under eaves, up underneath shingle edges, and directly into the gap between your roof deck and fascia board. That's exactly where a properly installed drip edge is supposed to live. When it's missing, undersized, or installed in the wrong order, you're one good Central Texas storm away from a rot problem that won't show up until it's expensive.
This is one of the most overlooked roofing services issues we see in Austin, yet it's also one of the most preventable. Here's what you need to know.
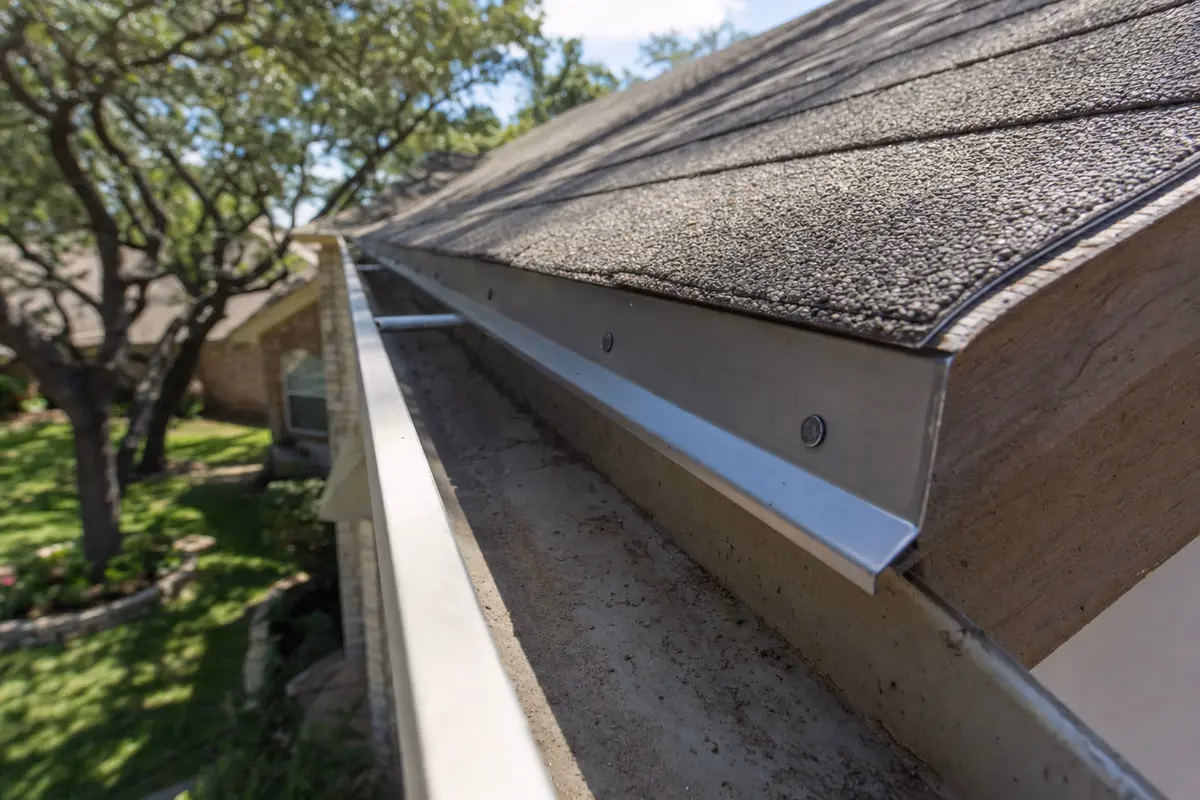
A drip edge is a metal flashing — typically aluminum or galvanized steel, installed in an L- or T-shape — that runs along the eaves and rake edges of your roof. Its job sounds simple: direct water away from the fascia and into the gutter. But what it's actually doing is more critical than that.
Without a drip edge, water that runs off your shingles doesn't have a clean path into the gutter. Instead, it follows the surface tension of the shingle and wicks backward, underneath the edge, where it soaks directly into the roof decking and the top of your fascia board. In a dry climate, this might cause slow, subtle damage. In Austin's climate — where you can get 4 inches of rain in 90 minutes — it accelerates rot at a pace most homeowners don't expect.
According to the National Roofing Contractors Association, drip edge installation is a fundamental component of proper roof system performance, particularly in regions with high rainfall intensity. And yet it's routinely skipped, undersized, or installed in the wrong sequence — especially on budget re-roofing jobs where speed matters more than details.
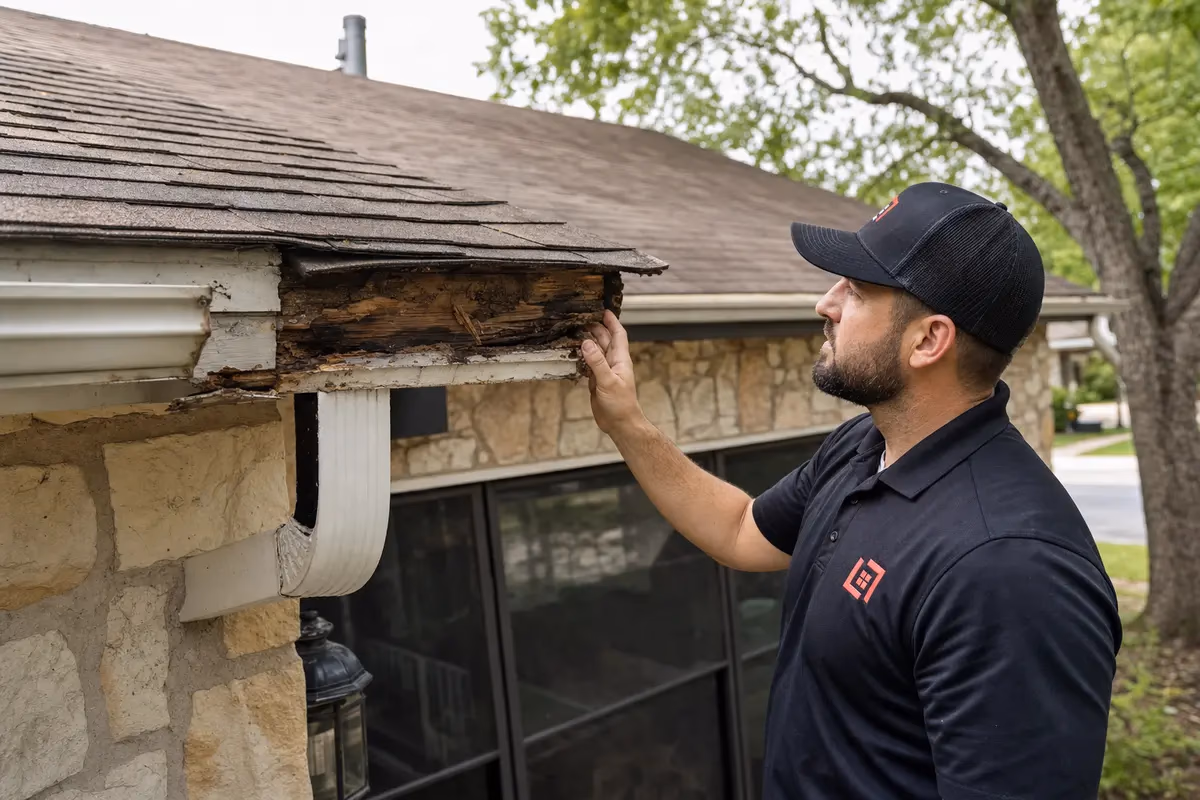
Here's the insidious part: decking rot from a missing drip edge often doesn't show up as an interior leak right away. The water saturates the OSB or plywood at the very edge of the deck — a few inches in from the fascia — and that rot stays hidden under the shingles for months, sometimes years. By the time it telegraphs to the ceiling inside your home, you may be looking at not just a drip edge repair but a partial deck replacement too.
We've written before about why Austin roofs keep passing inspections and still leak in wind-driven rain — and missing drip edge is one of the primary culprits in those scenarios. A visual inspection from the ground or even from a ladder won't catch early-stage edge rot until it's progressed significantly.
You don't need a ladder to check for red flags. These visual cues are visible from street level with a good pair of eyes or basic binoculars:
If you're seeing two or more of these signs, it's worth getting a professional set of eyes on the roof edge before the next storm system rolls through.
This is the part that frustrates homeowners most. A newly installed roof gets a certificate of completion. The insurance company is satisfied. And yet the drip edge was installed in the wrong sequence, or it's a cheap 1.5-inch aluminum piece on a roof that needs 2-inch or wider coverage.
There are two common installer shortcuts we see repeatedly on Austin re-roofing jobs:
On the eave edge (bottom of the slope), drip edge goes on before the underlayment — so the underlayment lays on top of it. On the rake edge (sides), it goes on after the underlayment. Many crews do it the same way on all edges for speed, which means one orientation is always wrong. When wind-driven rain gets under the rake edge, there's nothing directing it away from the deck because the sequence is reversed.
The IRC (International Residential Code) specifies drip edge coverage requirements, but local enforcement varies. We routinely see 1.5-inch drip edge installed on homes that would perform far better with a 3-inch or 4-inch profile — especially on low-slope roofs where water moves slowly and has more time to wick backward. For Austin's storm profile specifically, wider is almost always better.
The Family Handyman has a solid primer on drip edge types if you want to understand the profile differences before you talk to a contractor. Knowing the terminology helps you ask smarter questions.
It's also worth noting that roofing shortcuts don't happen in isolation. If a crew cut corners on drip edge, there's a reasonable chance they also skimped on underlayment lapping or valley flashing. That's why we always recommend a full roof-edge inspection — not just a spot check — if you're questioning the quality of a previous install. You can read more about why Austin shingle roofs underperform their rated lifespan — it's rarely just one failure point.
Here's the good news: if the decking itself is still solid and the shingles are in reasonable shape, a drip edge retrofit is a targeted, affordable fix. An experienced roofer can remove the first few courses of shingles at the edge, install properly-sized metal drip edge in the correct sequence, and relay the shingles without touching the rest of the roof. It's not a fun Saturday project — it requires lifting shingles without cracking them and nailing into a very specific zone — but it's well within the scope of a focused repair call.
When does it tip into replacement territory? When the decking shows soft spots or visible delamination at the edge. When the fascia board has rotted enough that it can't hold the gutter bracket. Or when your shingles are already past the 15-year mark in Austin's climate and the edge repair would be the third or fourth patch job on an aging roof. At that point, you're spending repair money on a system that's approaching end-of-life anyway.
If you're unsure which side of that line you're on, the right move is a targeted inspection — not a full sales pitch. A good contractor should be able to tell you within about 20 minutes of looking at the edge condition whether you're dealing with a $400 fix or a conversation about broader shingle roofing services.
And while you're having that conversation, it's worth asking about your gutters too. A compromised drip edge and an undersized gutter system often fail together — if your gutters are overwhelmed during heavy rain, the overflow compounds the damage a missing drip edge is already causing. We covered this connection in detail in our post on why delaying gutter replacement accelerates foundation damage in Austin.
Late-summer rain in Central Texas doesn't give you much warning. A system that looks like a standard afternoon thunderstorm can stall over your neighborhood and drop 3 inches in an hour, with sustained wind gusts that push water where gravity alone never would. That's the exact scenario a drip edge is designed to handle — and the exact scenario that reveals whether yours was installed correctly.
If you've got a roof that's more than five years old, a recent re-roof from a budget crew, or any of the visual signs listed above, don't assume you're covered just because nobody's complained yet. The rot is quiet. The leak that follows it isn't.
The team at Austin Pro Siding does targeted roof-edge inspections and can tell you honestly what you're dealing with before the next storm system makes the decision for you. Schedule a time that works for you — it's a short conversation that could save you a very long and expensive repair.
Save time and money by tackling windows and siding simultaneously for a smarter renovation.
How long will it last? We compare the expected lifespans of asphalt, metal, and tile roofing.
Shingles, metal, or tile? We help you navigate the vast array of roofing material choices.
Austin's brutal heat-humidity cycle destroys wood and warps vinyl — making James Hardie fiber cement siding the smartest long-term investment for local homeowners. This honest breakdown compares 20-year ownership costs, fire and hail ratings, and the HZ10 HardieZone® system engineered specifically for Texas climates. Find out if the switch makes financial sense for your home.

West Austin's tree canopy and humidity make wood siding a costly liability — woodpeckers, carpenter bees, and hidden rot can quietly turn a $200 patch into a $12,000 repair. James Hardie fiber cement siding eliminates pest vulnerability and moisture damage at the source, with long-term costs that routinely beat the annual patch-and-paint cycle. If you're tired of paying the Woodpecker Tax, here's exactly what switching looks like and what it's worth.

The viral painted brick trend is quietly damaging Austin homes by trapping moisture inside masonry walls — and the city's extreme climate makes the problem far worse. Before you update your brick exterior, learn why vapor permeability matters and which breathable finishes actually protect your home long-term.
Austin Pro crafts exteriors that not only captivate but also promise steadfast protection and reliability, embodying the vibrant spirit of Austin in every facade. Your home's exterior is its silent storyteller and first impression; let us help it speak volumes without uttering a word.